
Capilano House: Design Plans
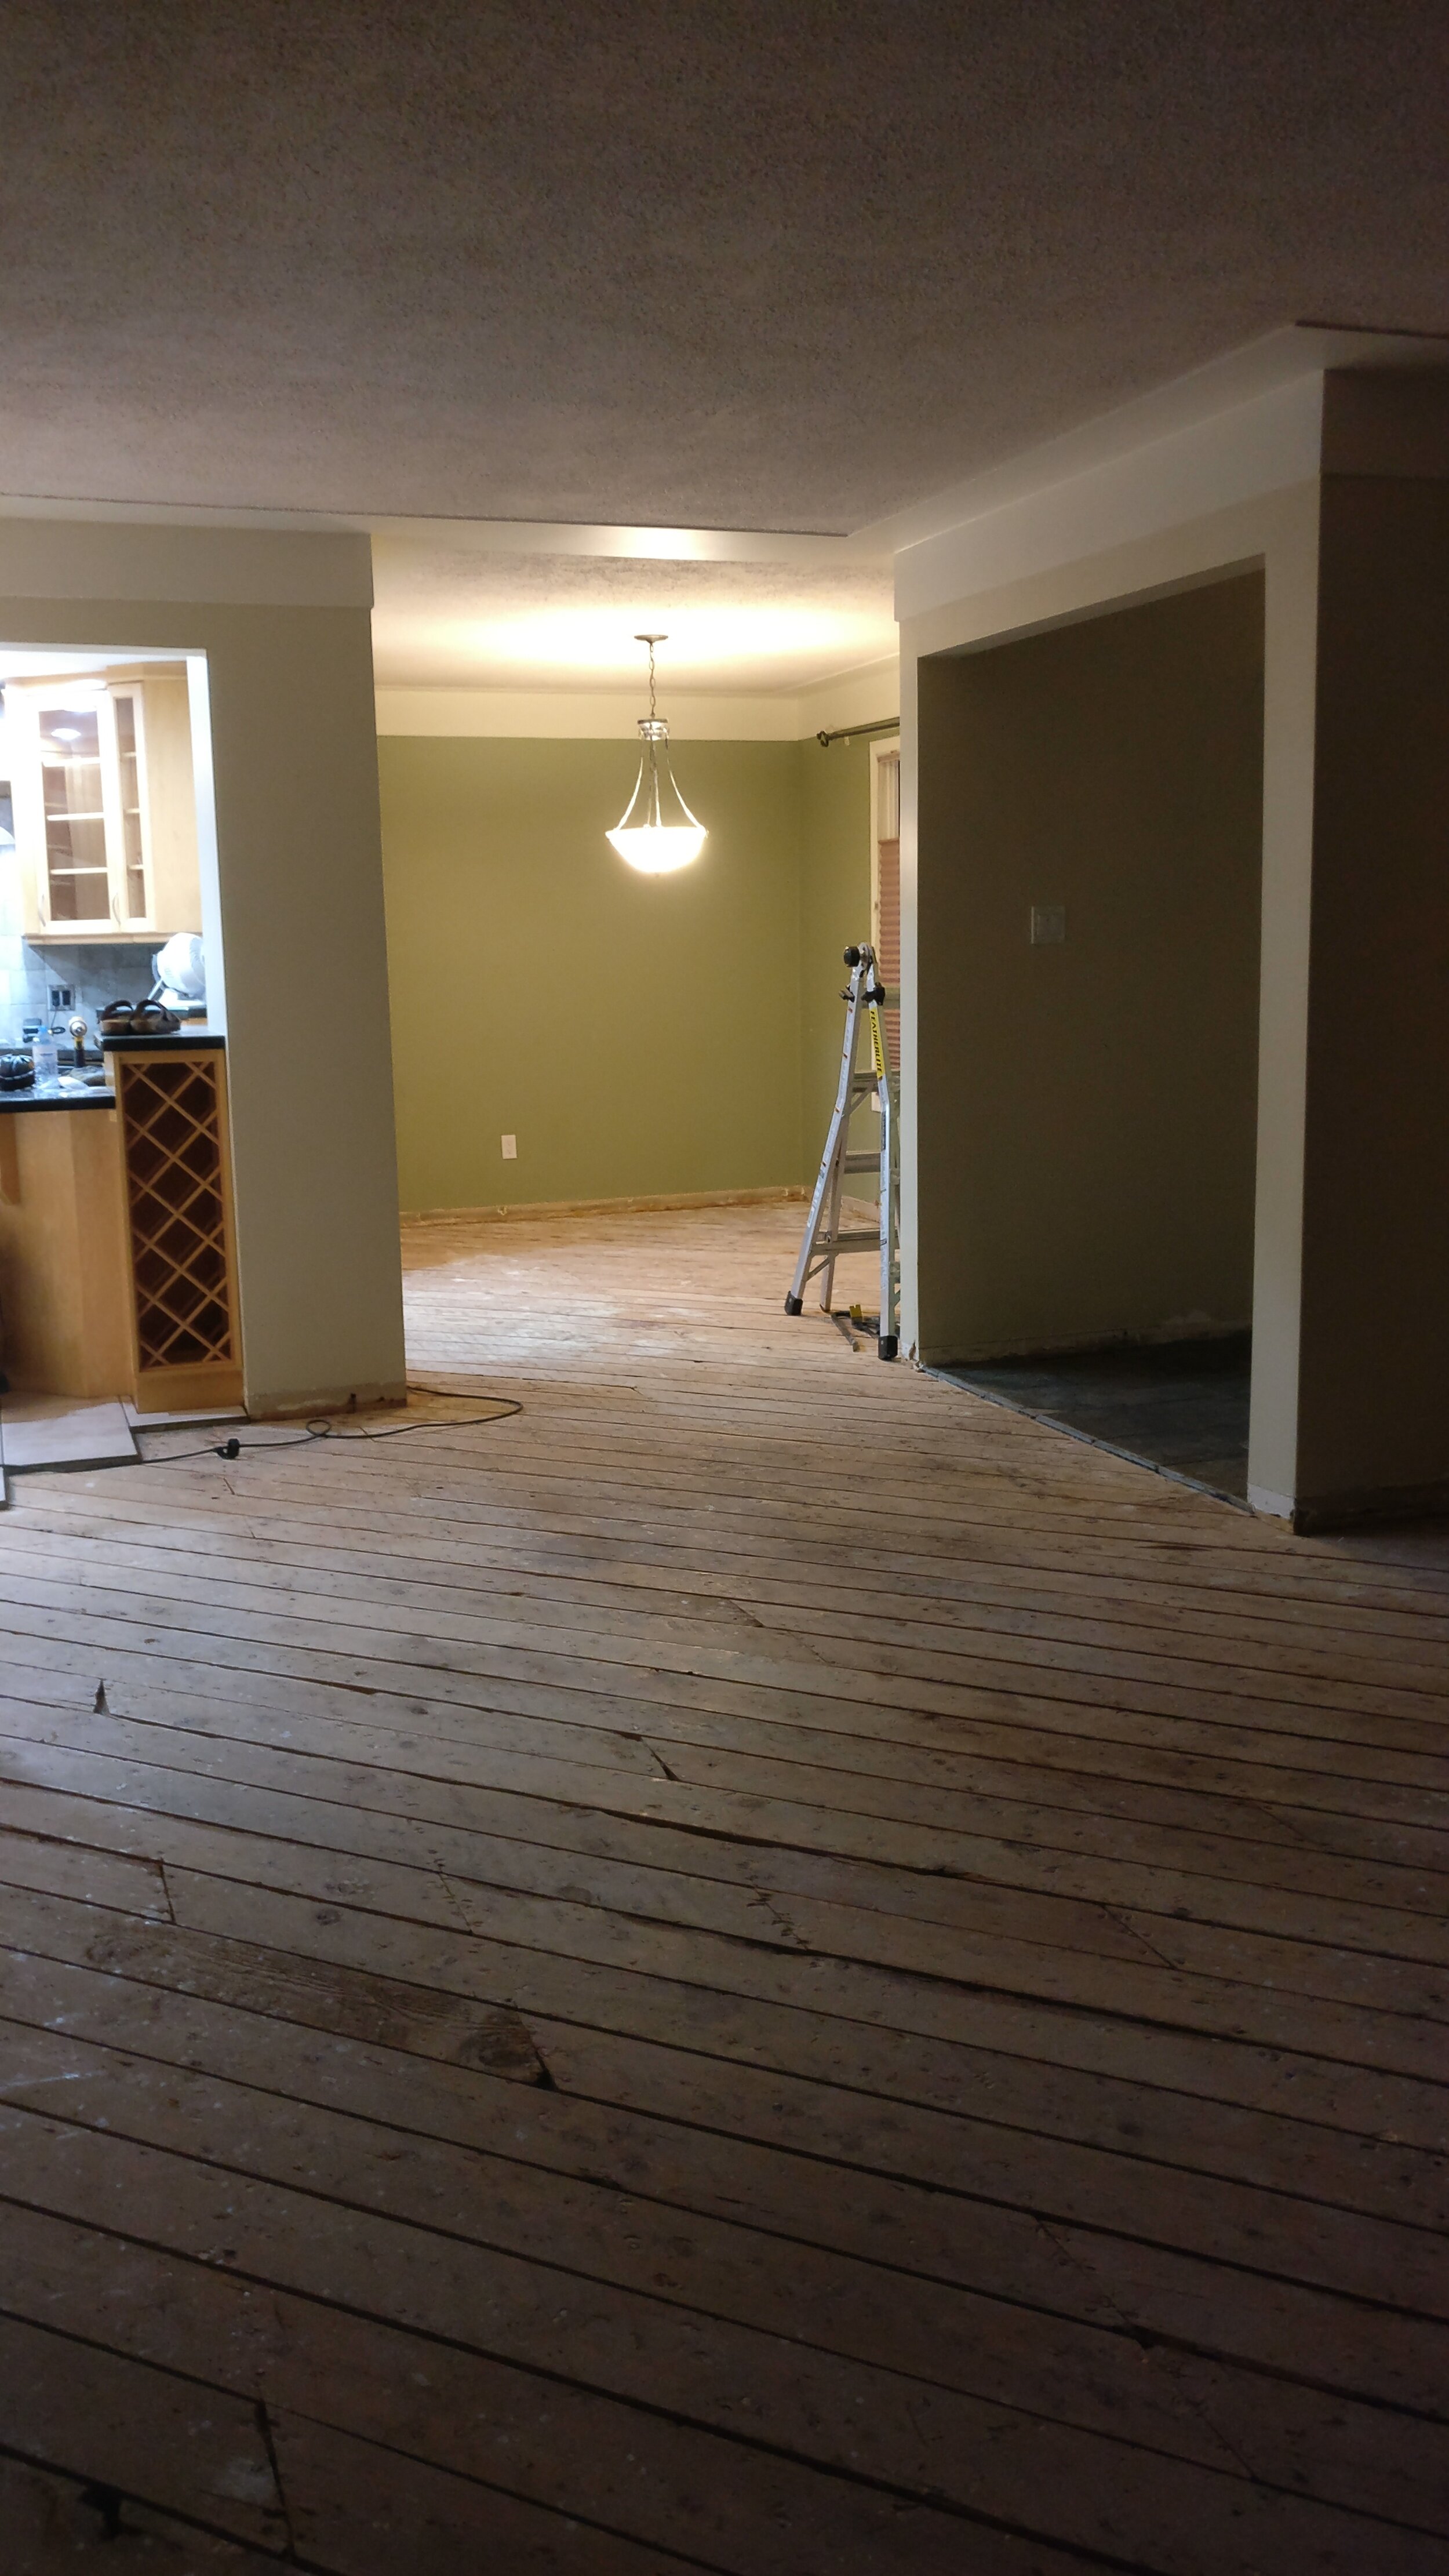
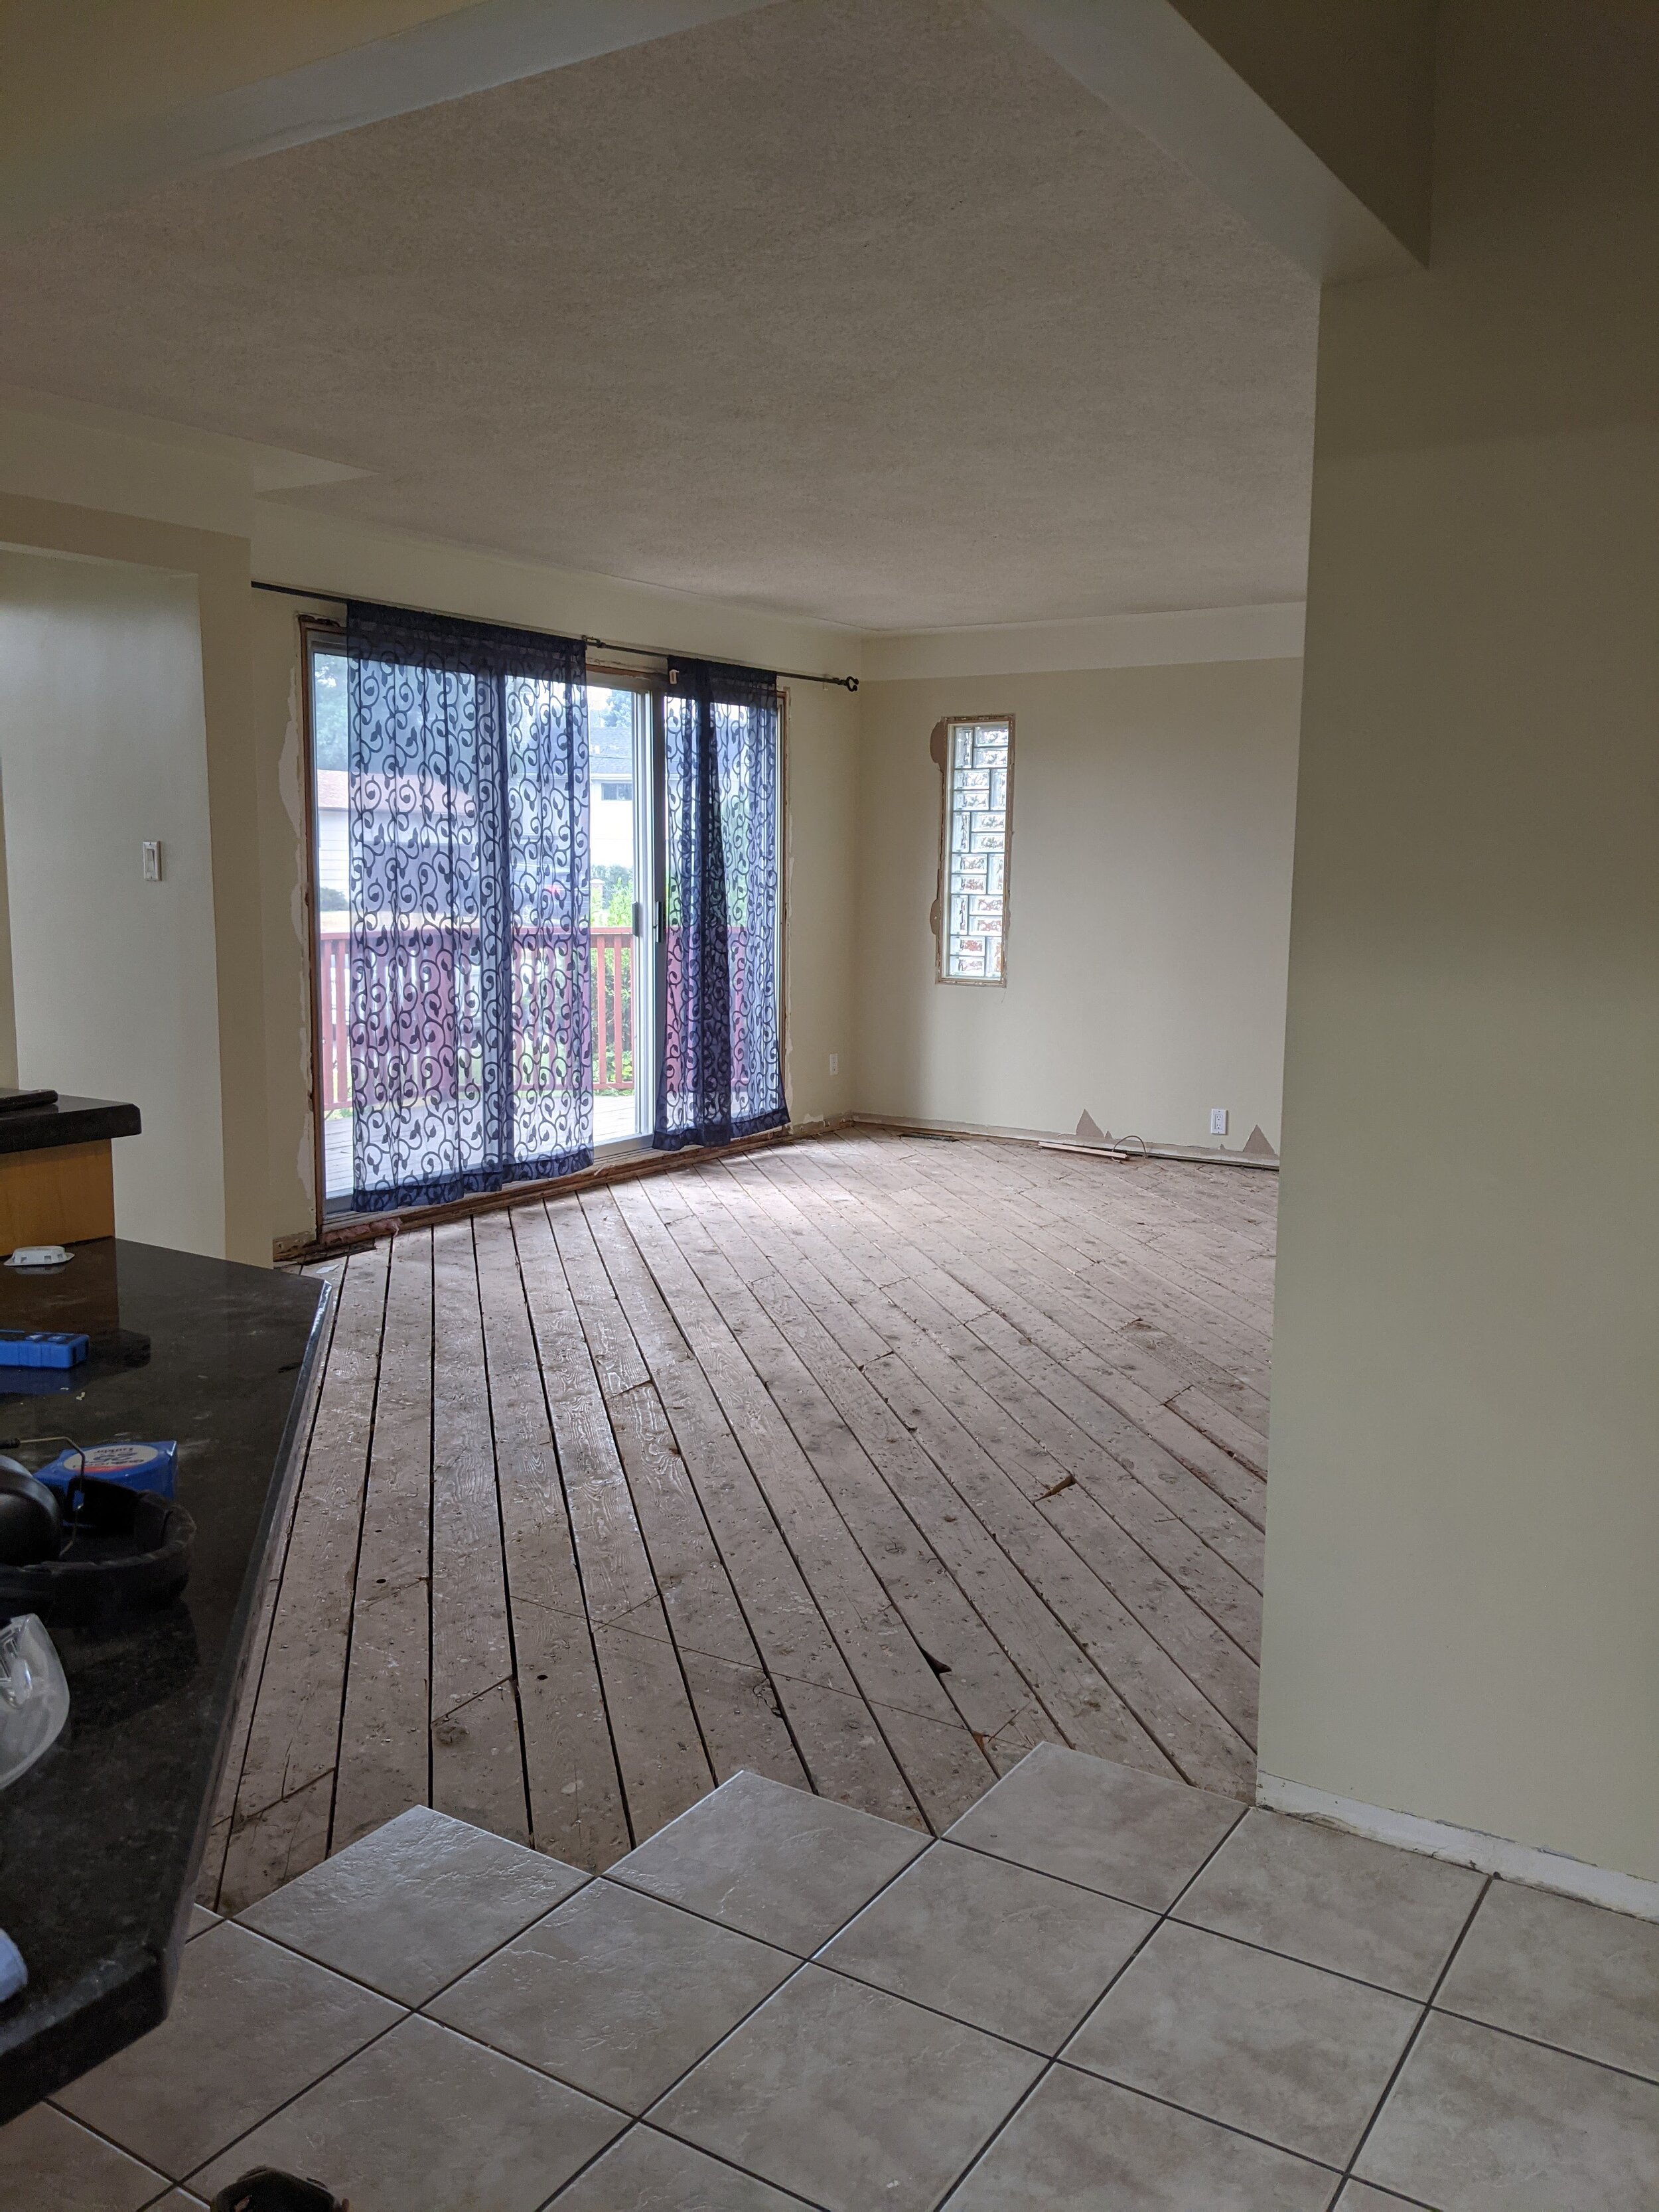
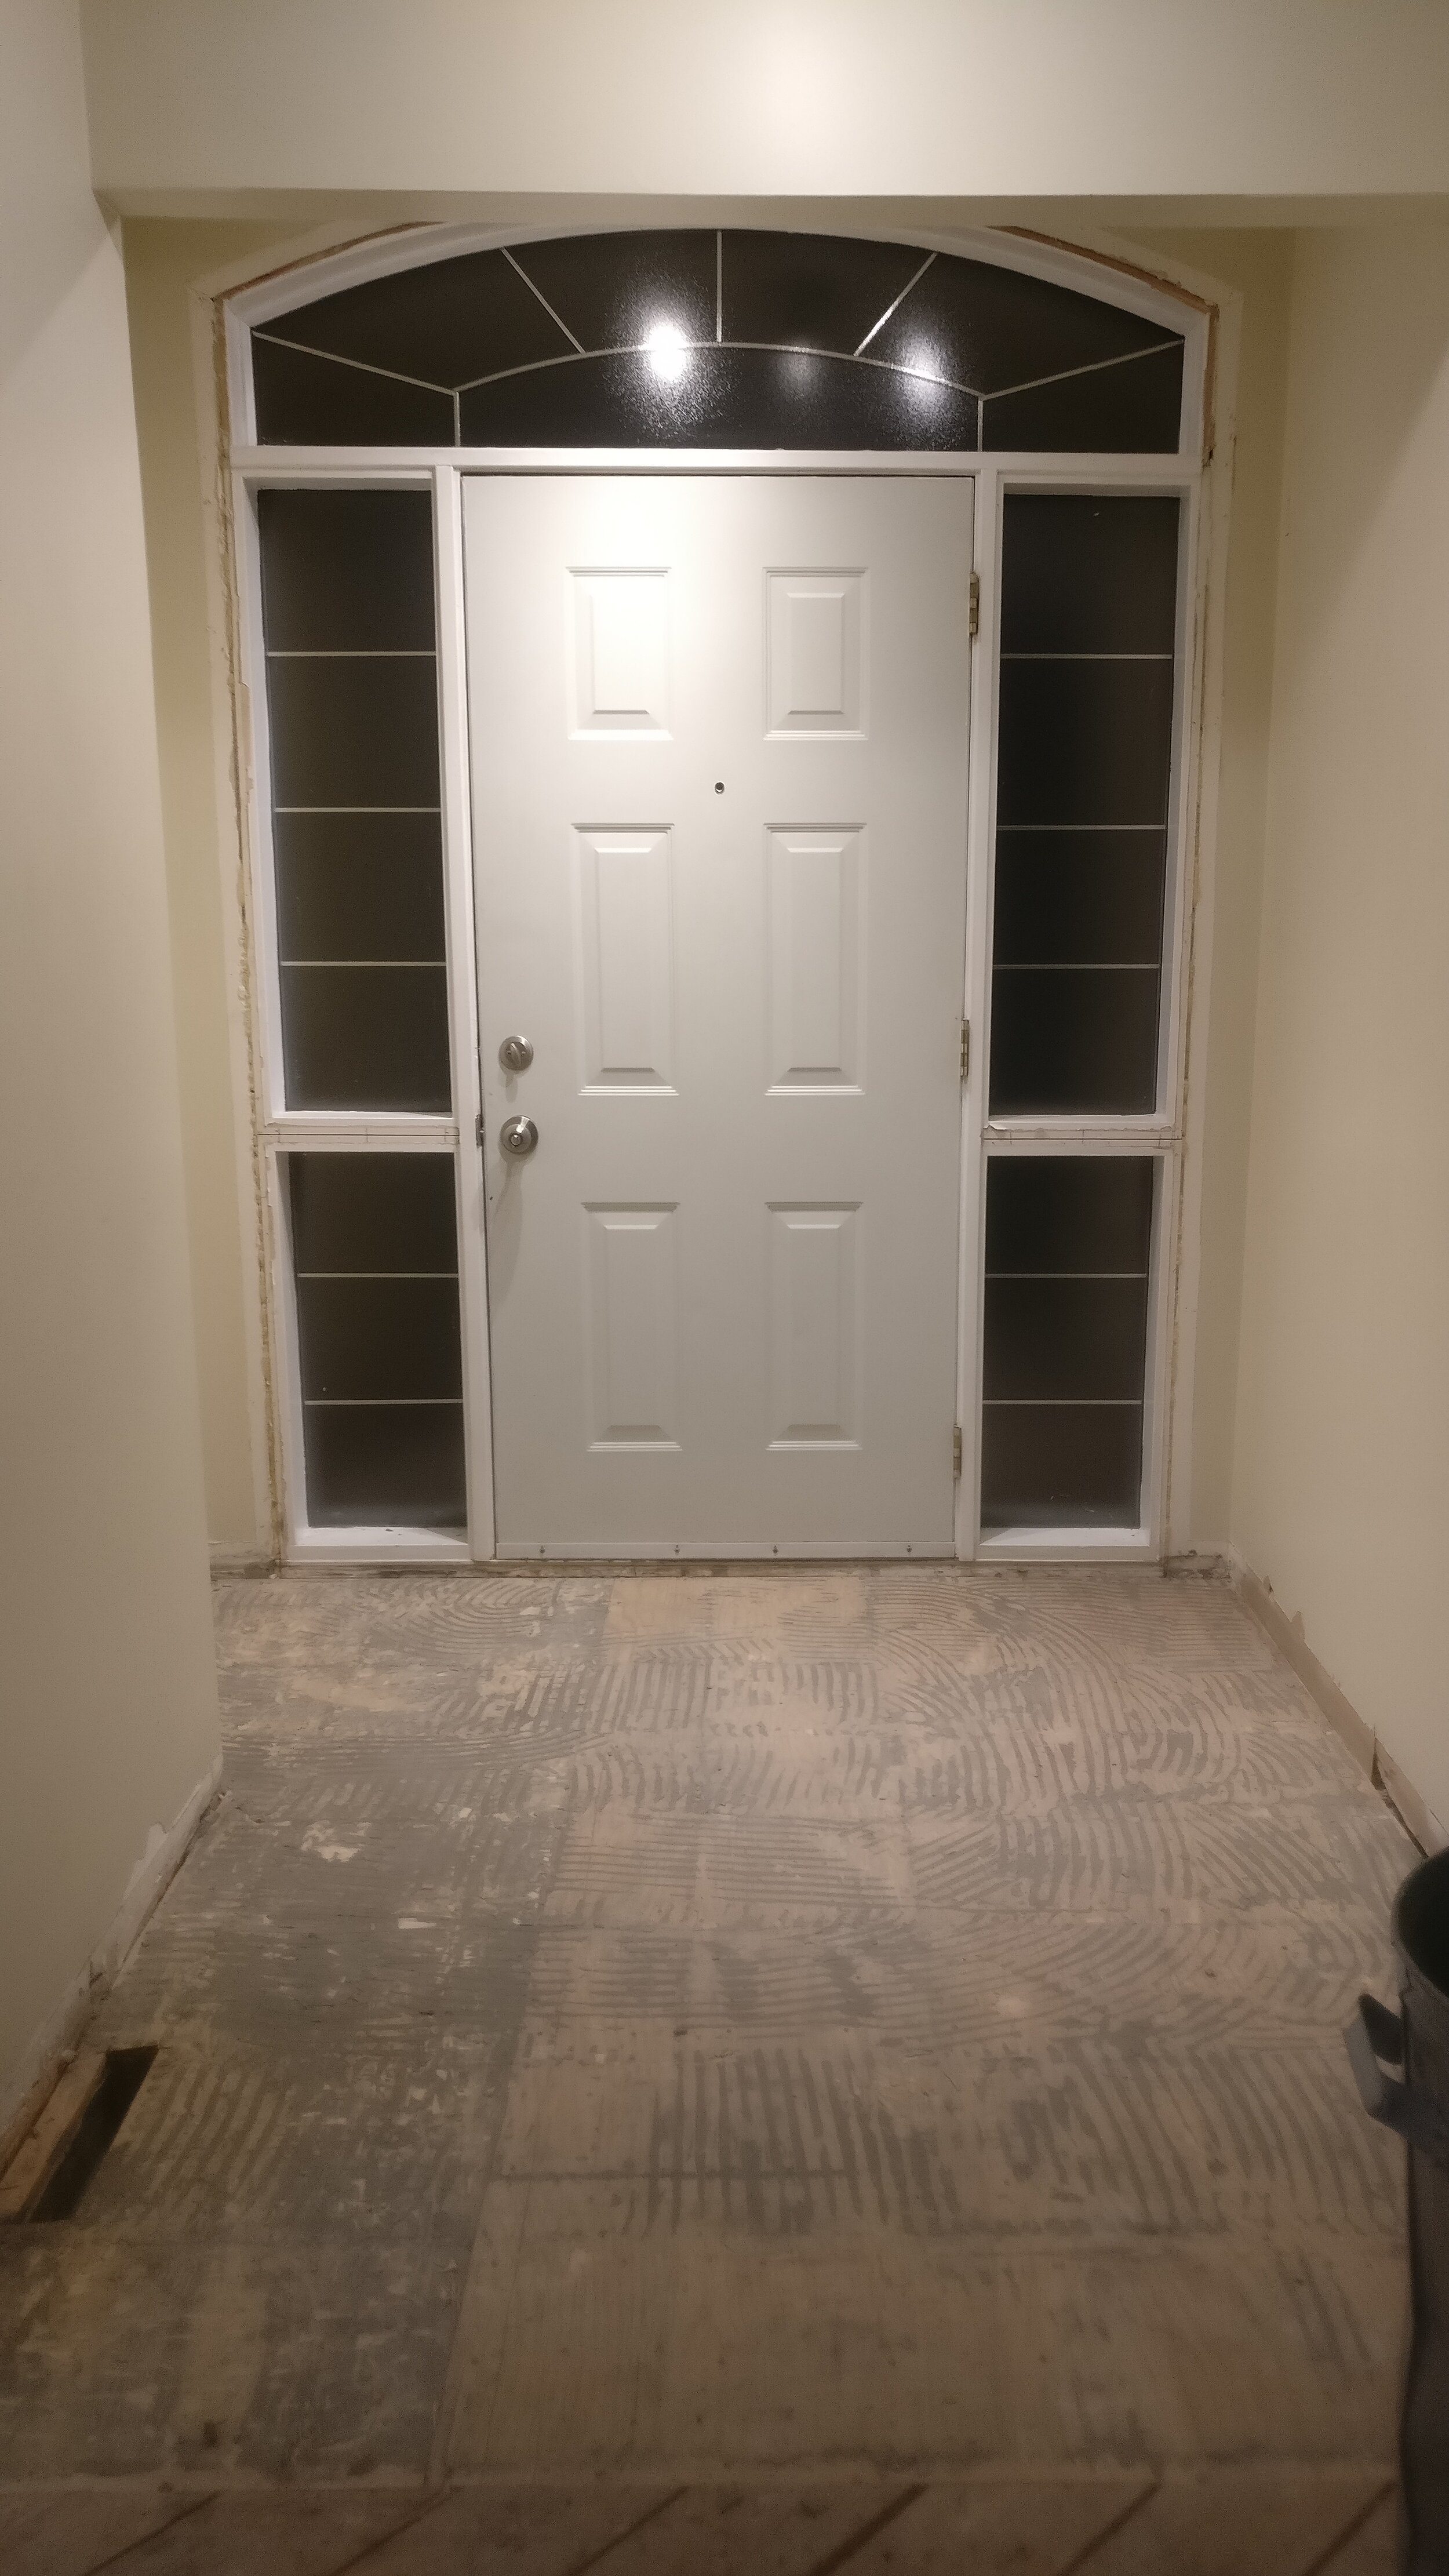
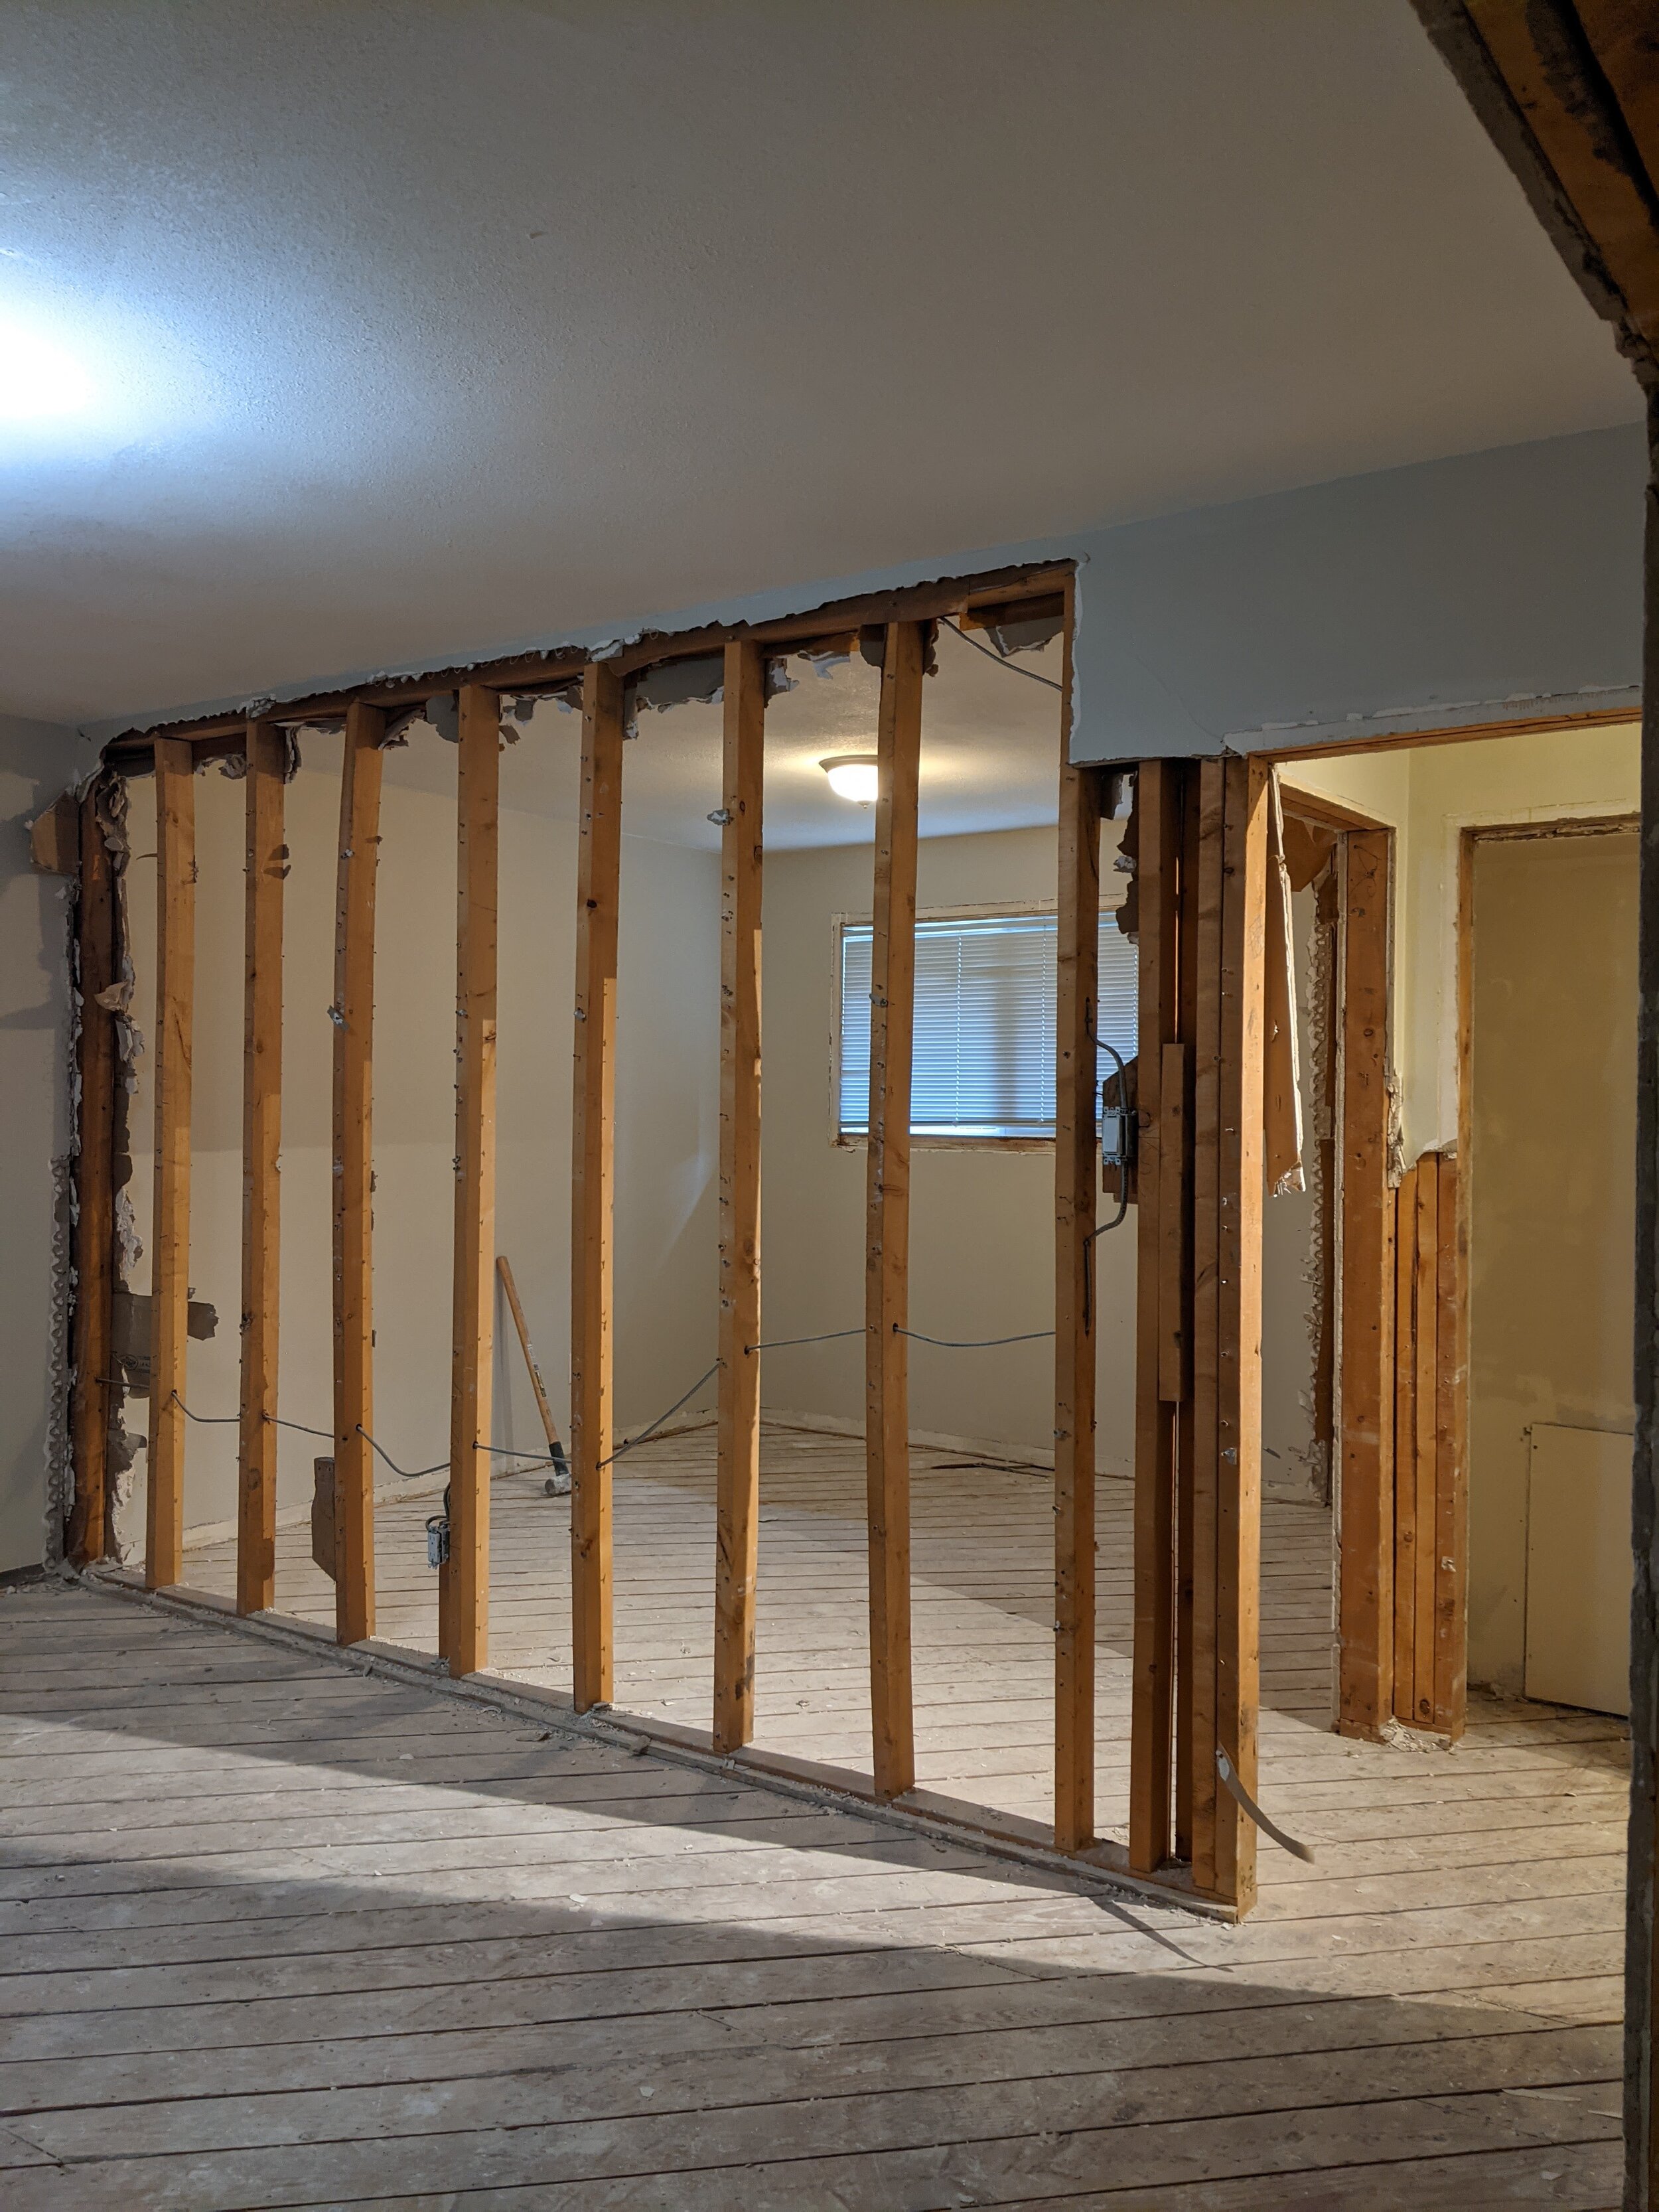
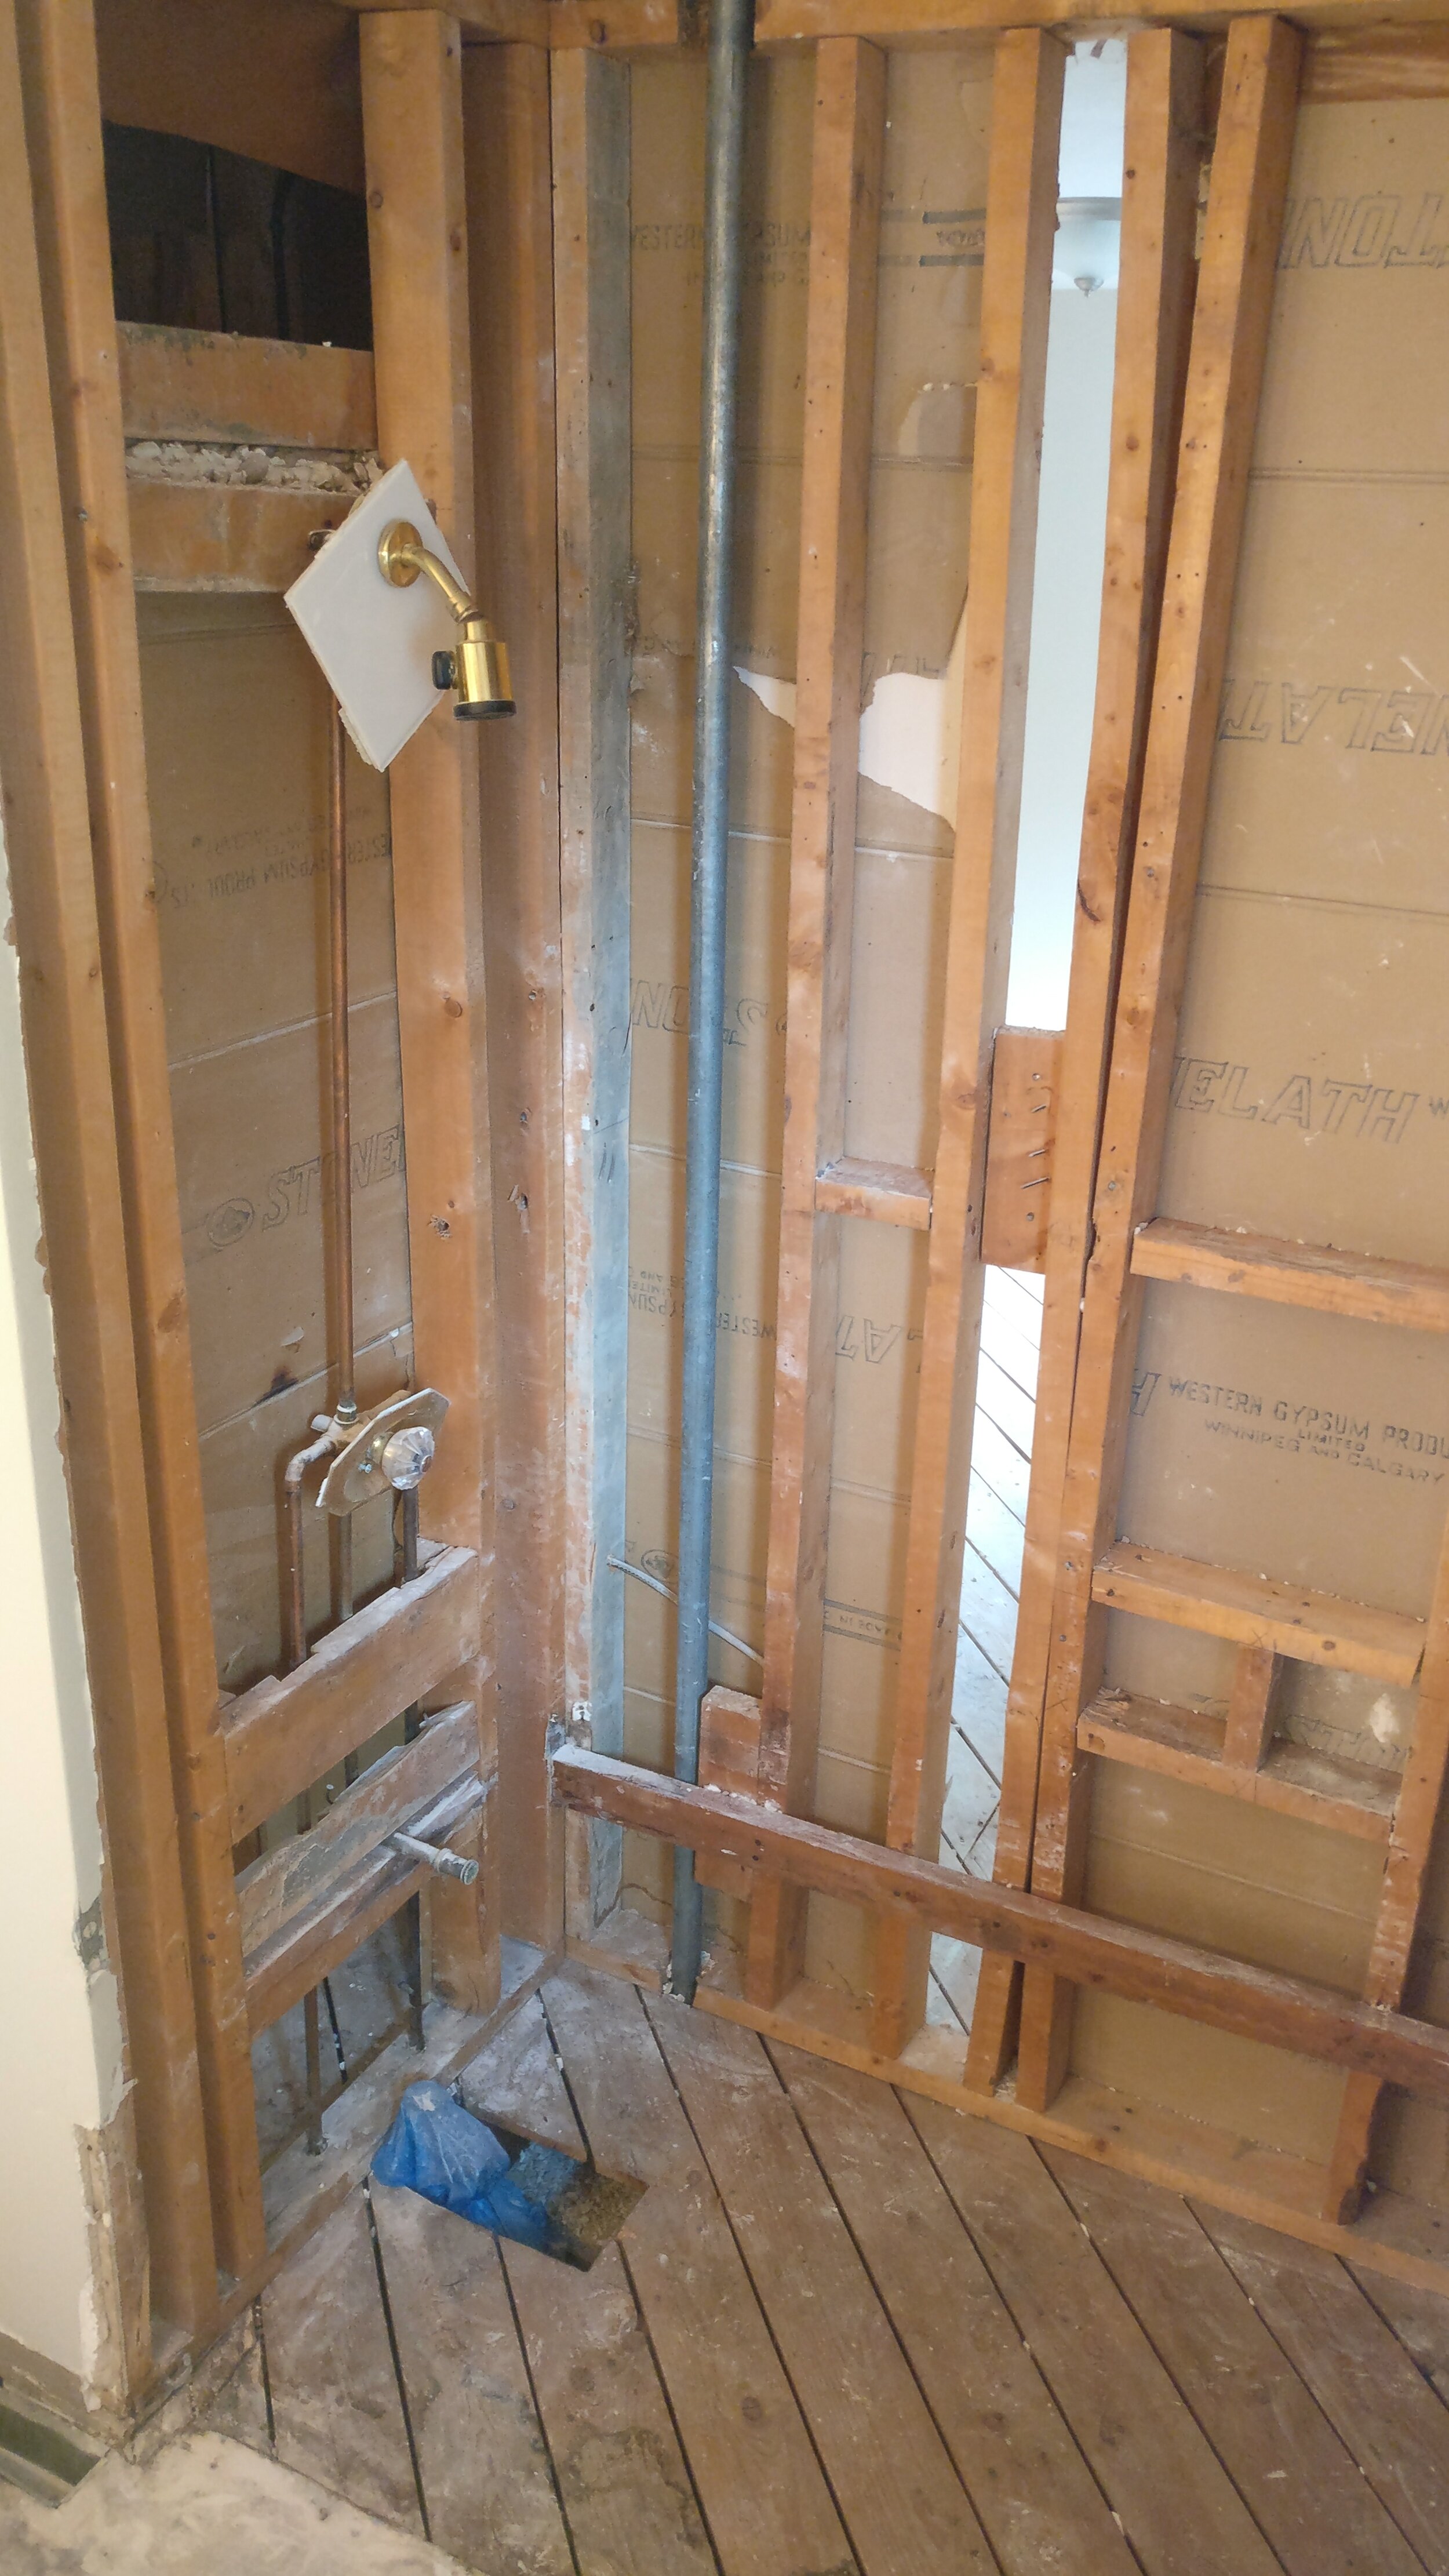
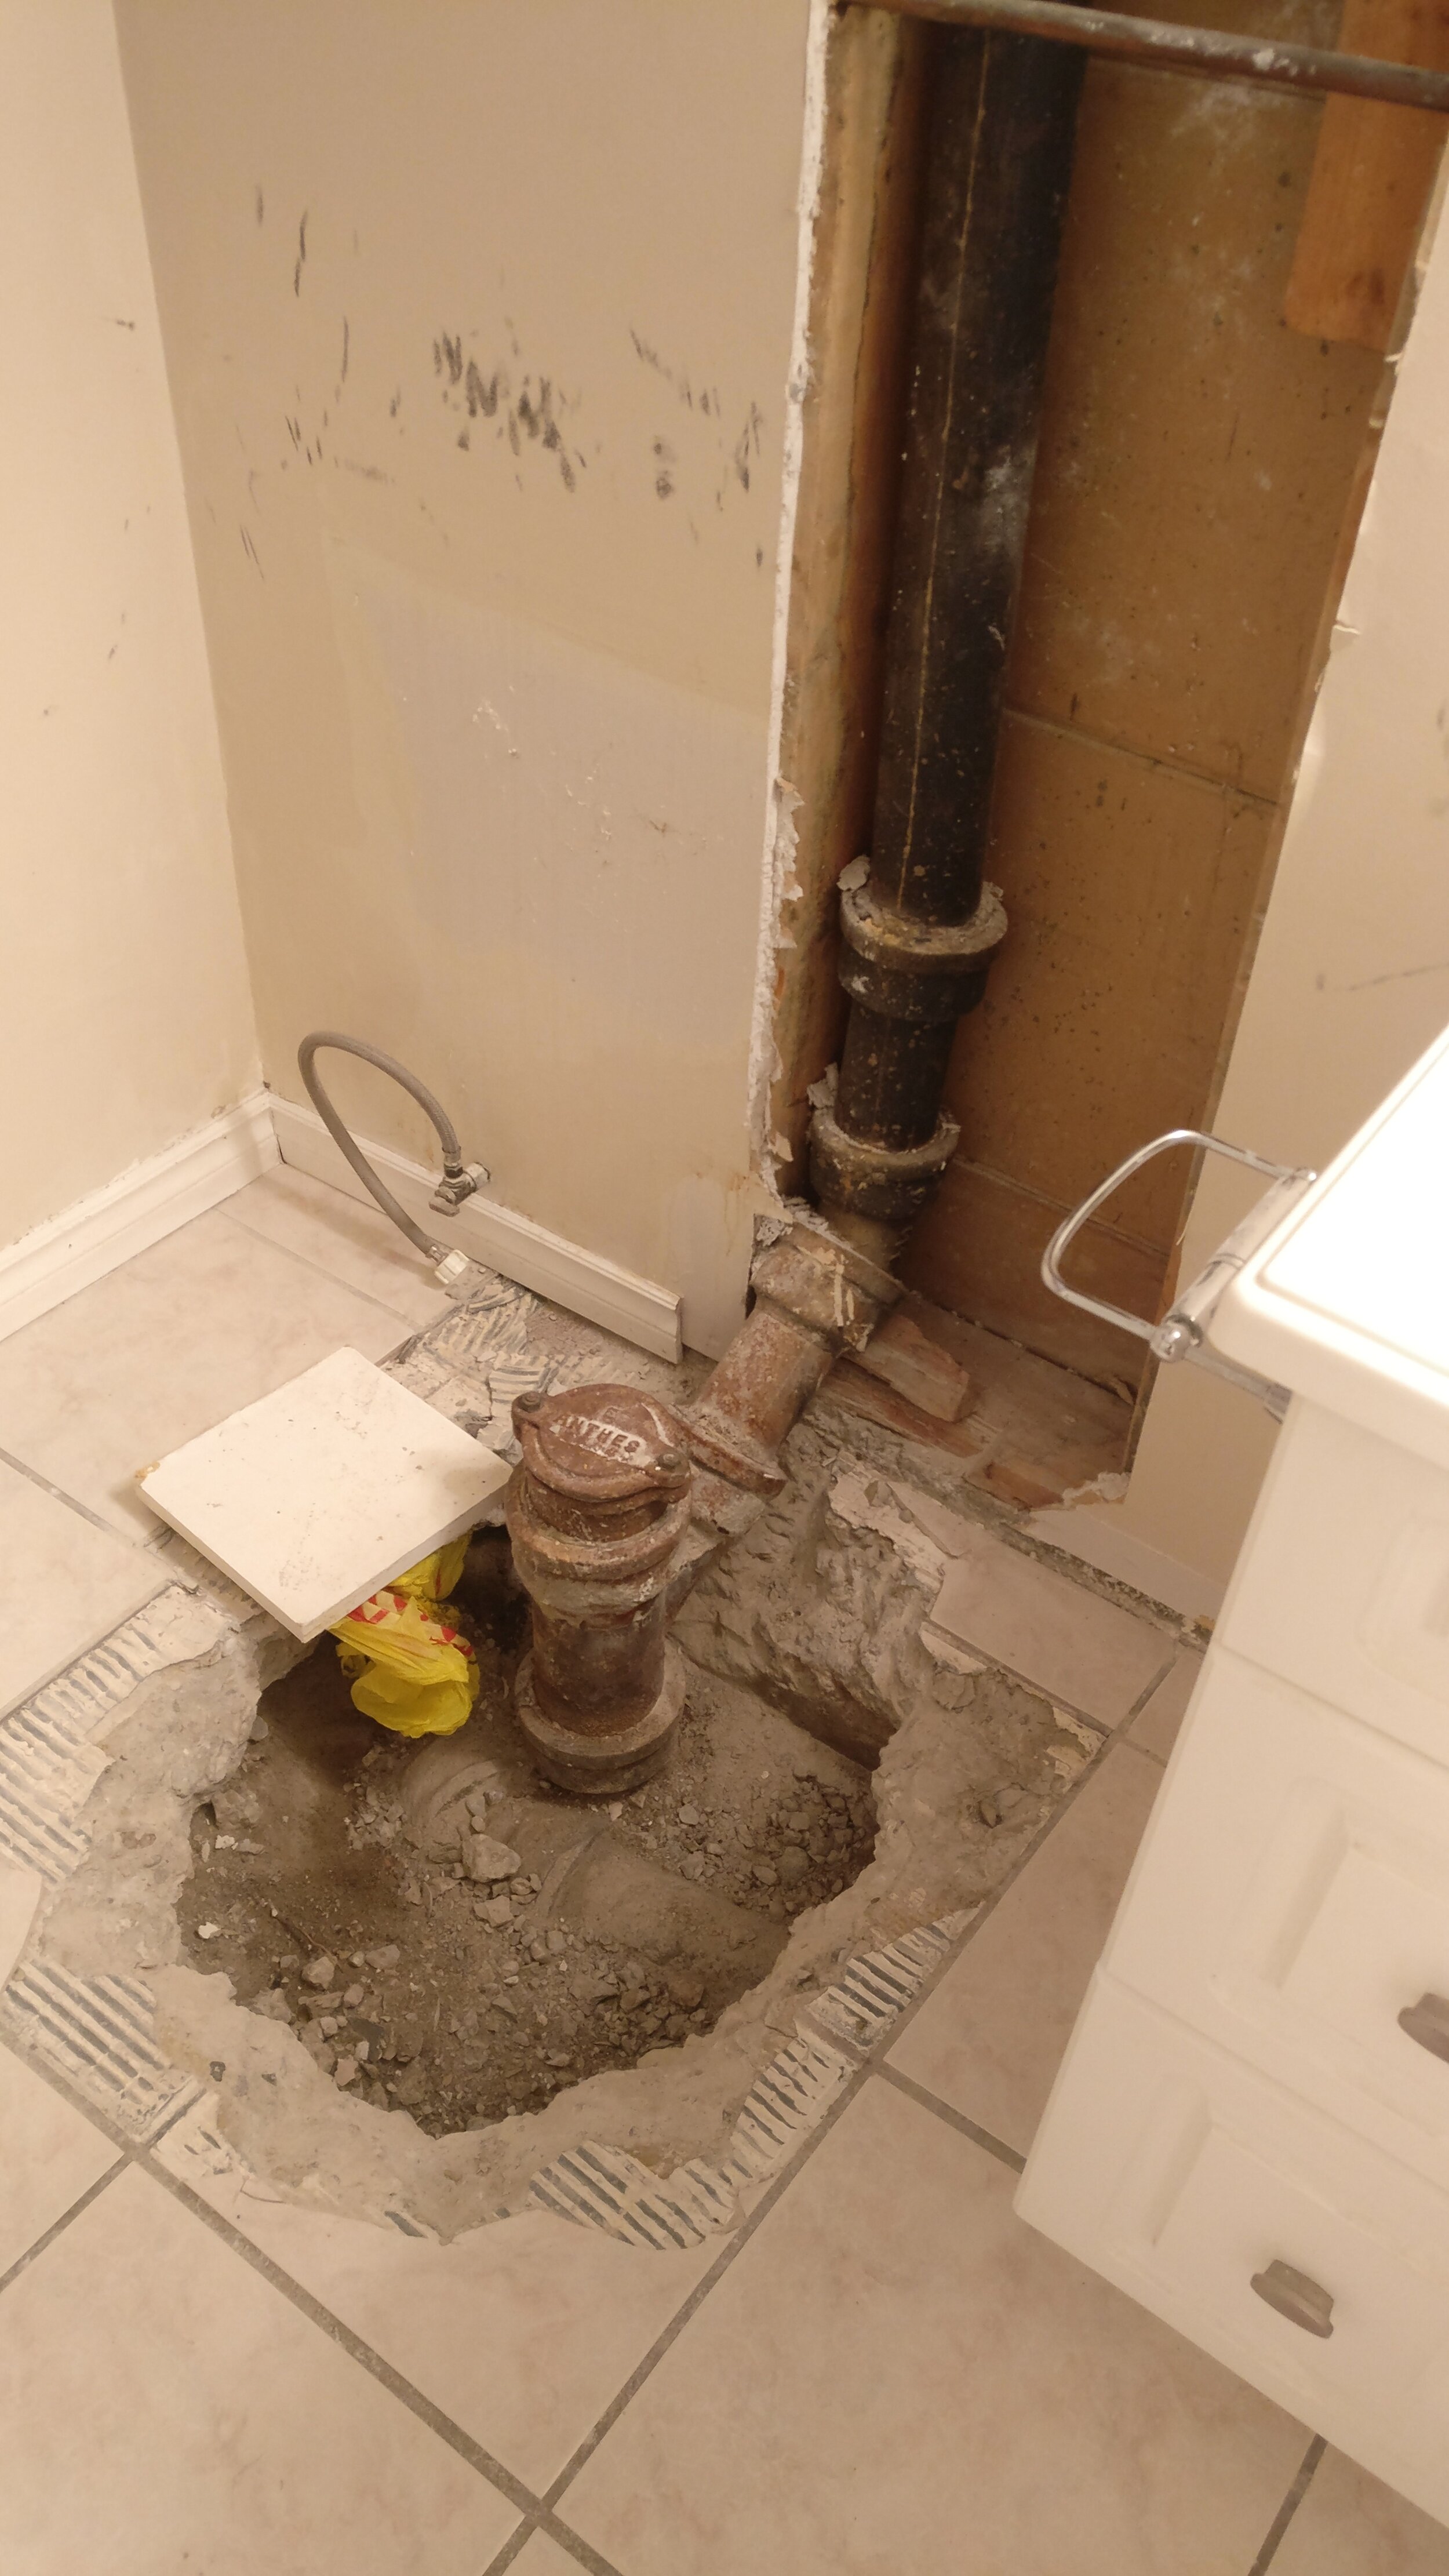
We’re just over a month into this renovation and I’m happy to say that we are finally starting to see the light at the end of the demo tunnel. After just over 4 weeks, we’ve removed all of the old flooring and the underlay in the kitchen. We’ve gutted the master bedroom, the main bath, and removed two closets. We (well, Matt and my brother) also dug a hole in the basement floor to move the clean out valve. It’s been a busy month!


Between all the demo work, I’ve also been busy finalizing the plans and materials for the main floor.
Today I’m finally ready to share them!
Floor Plans
First, let’s start with the floor plan. This was the original layout.

And here is the new one.

The only wall that were actually removing is between the original master bedroom and bedroom 2. This will create a larger master bedroom. We’ll also be framing in a new walk-in closet, an ensuite, a larger linen closet, and a new coat closet.
Now on to the good stuff!
Living Room
One of the challenges with this space was coming up with a solution for the wall hung TV. Most living rooms have fireplaces so the obvious location for the TV is directly above that. Unfortunately we don’t have one and I really didn’t love the idea of just mounting the TV on the wall with nothing around it. After a lot of browsing, I eventually stumbled upon this photo which became the inspiration for the TV wall in the living room.
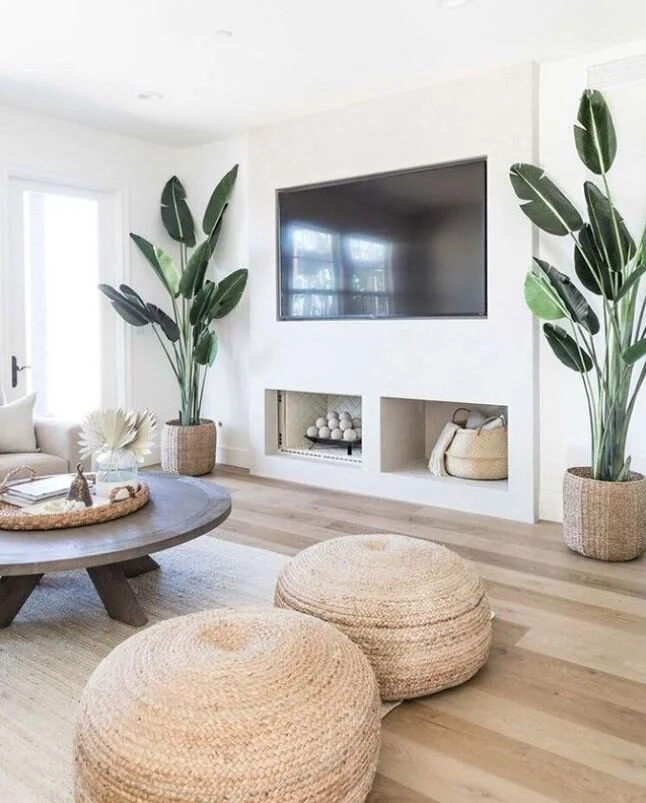
But instead of installing the two smaller recessed boxes, we’re planning on creating a built in bench which will run along the entire wall. My hope is that the bench will create a base for the TV wall, making it look more like a feature wall. It will also give us some extra seating or shelving. This idea was inspired by the bench under the window in the photo below.

Below is a rough sketch of what it will look like once it’s completed.

As far as furniture goes, I think we’ve narrowed it down to this sectional, which will pair really nicely with the coffee table I already have.


Ensuite
Planning out the ensuite, walk-in closet, and master bedroom area came with it’s own set of challenges. The goal was to create a bedroom large enough for a king sized bed, a closet with enough storage that we won’t need a dresser, and an ensuite that has a luxurious feel to it. In addition, we wanted to limit the amount of walls we had to remove so that that only area we were re-configuring was within the original master bedroom and bedroom 2 walls.
The other challenge was deciding on a look for the bathroom. I knew I wanted a clean, simple design with minimal detailing, but I also wanted it to have some spa vibes as well. It didn’t help that everyday I would come across another image of a beautiful bathroom which would cause me to second guess the direction I’d chosen the day before.
Eventually I came across this image and I couldn’t get it out of my head. I just love the floating shelf, the oversized mirror, and the white penny round tiles. Finally I had a direction for the ensuite.

From there I started shopping for bathroom vanities. We’ve finally decided on this one from a shop in Manitoba. I actually like it so much I’m going to use the same on in the main bath as well.

The design for the walk-in shower took a little longer. Again, I wanted the design to be clean and clutter free with minimal grout lines. Thankfully we found some beautiful light grey 30”x30” tiles that we’re planning on installing on the entire bathroom floor and on the walls in the shower. I’m hoping it will look something like this once it’s complete.

Chloe’s Room
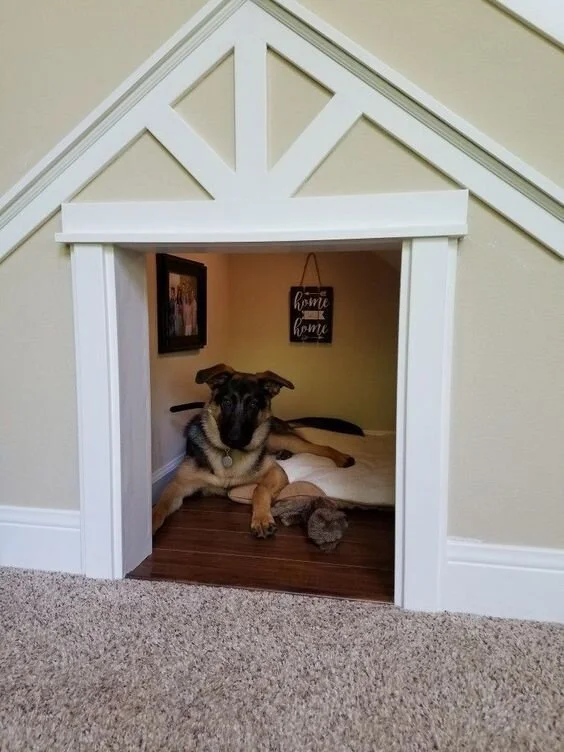
And the part I’m most excited about, Chloe’s room!
It’s not really a room, just an opening in the bedroom/closet wall that’s large enough for her bed. It would look similar to this (minus all the extra trims). Knowing me, I probably would hang some photos in there though ;)
Materials
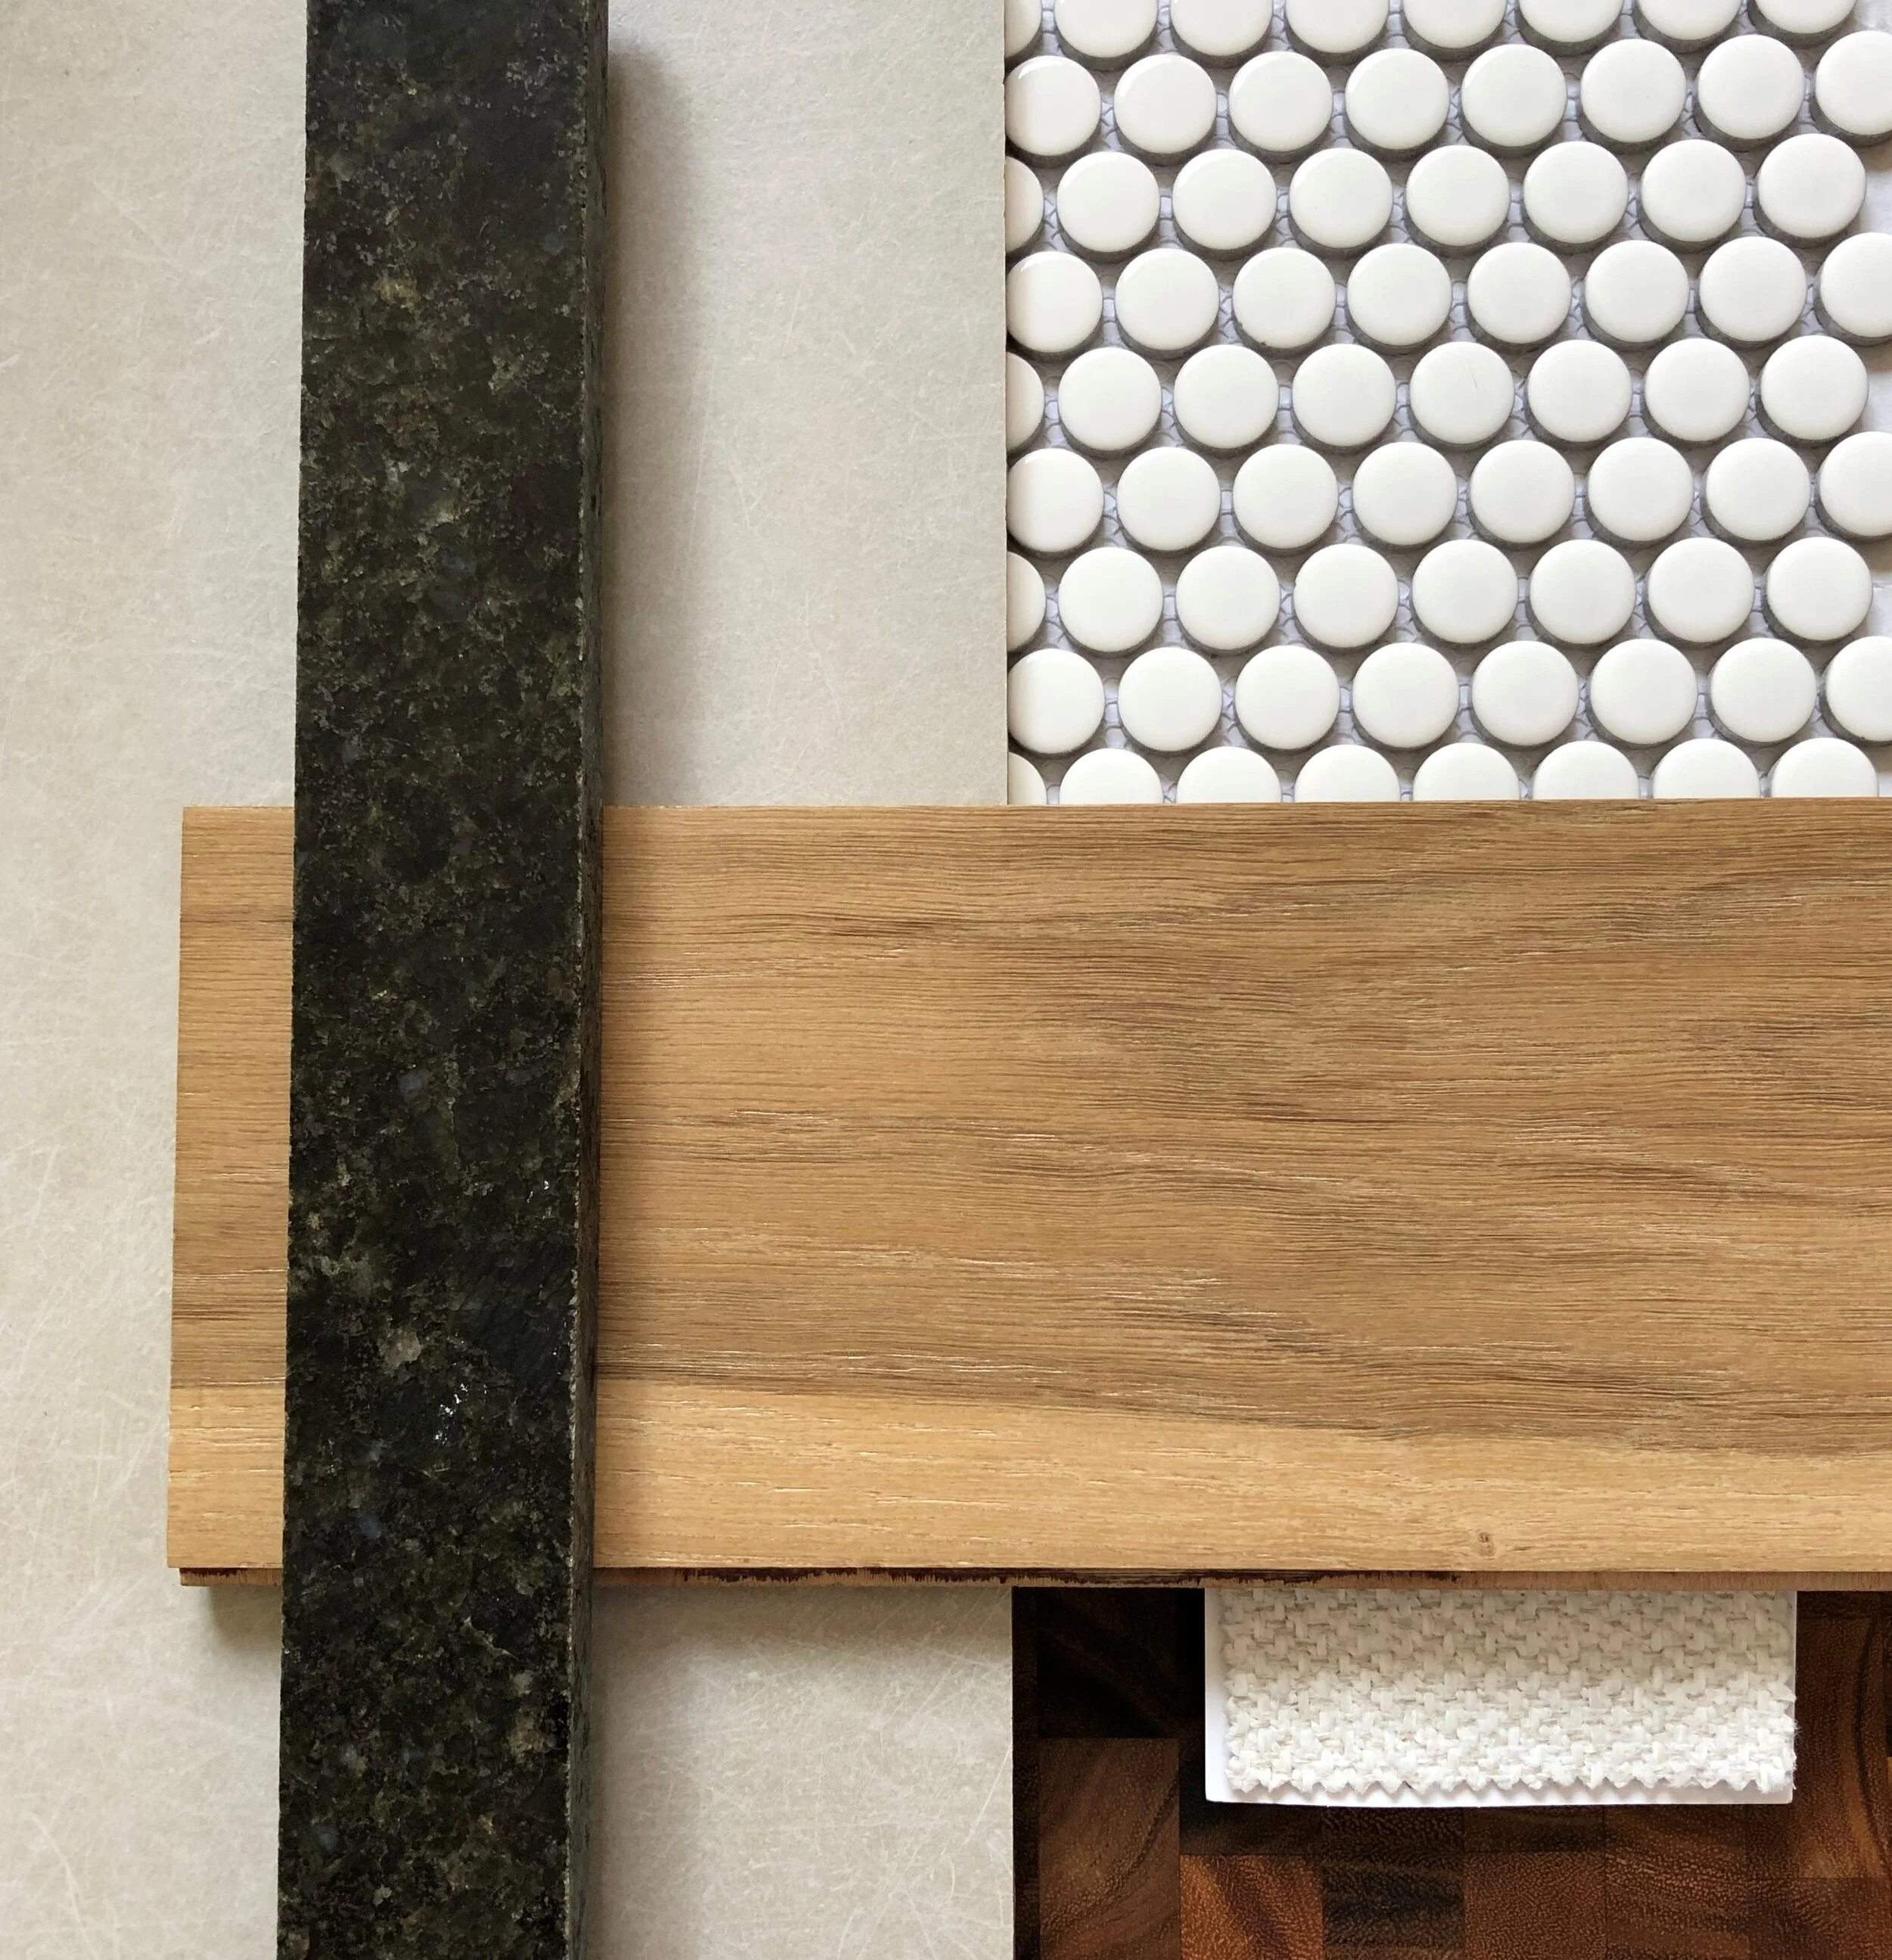
And this is the sample board of all the materials we’ve picked out so far. We’re planning on installing the light oak engineered hardwood on the entire main floor except for the bathrooms. I love how beautifully it pairs with the light grey tiles and the penny rounds. The small piece of fabric is the material of the new sectional. I also happened to find a chunk of the dark granite that was installed for the kitchen countertops so I threw that in there to get a better sense of how the new materials pair with the existing materials (which is better then I thought it would be thankfully). I’m still trying to decide on a paint colour for the walls, but right now I’m leaning towards a warmer shade of white.
And that’s about as far as I’ve gotten! There are still obviously a ton of details we need to sort out, but I’m very committed to being thoughtful and intentional about every design decision to help ensure I’m happy with the end result.
Wish us luck as we head into Month 2 of this renovation!
BY EMILY RADKIE