
Everything You Need To Know About Spring Lawn Care
Does anyone else love doing a deep clean of your home in the spring? There is something so refreshing about clearing the clutter and wiping away the dust and grime that has accumulated over the past year. I’m not joking when I say this, but I’ve been doing a spring clean every year since I was in Jr. High and every time I do I’m amazed at the life it seems to bring back to my space.
Now that we own a home, I already know that spring cleaning isn’t going to stop within the walls of our house. After a few years of neglect our yard is definitely in need of some love, but having never really thought too much about lawn care before, I know I have a lot to learn before the snow melts. So today I thought I would share a list of all the things the experts recommend doing in the spring to get your yard ready for the growing season.

Step 1: Clean Up Winter Garbage and Debris
First things first, clean up the yard. Spend some time picking up any fallen branches, removing any loan pieces of gravel along sidewalks and roadways, and any garbage (ie. dog waste) that may have accumulated over the winter. Small rocks are especially hazardous because they can damage lawn mower blades, or if run over and flung from the machine, near by windows and vehicles as well.

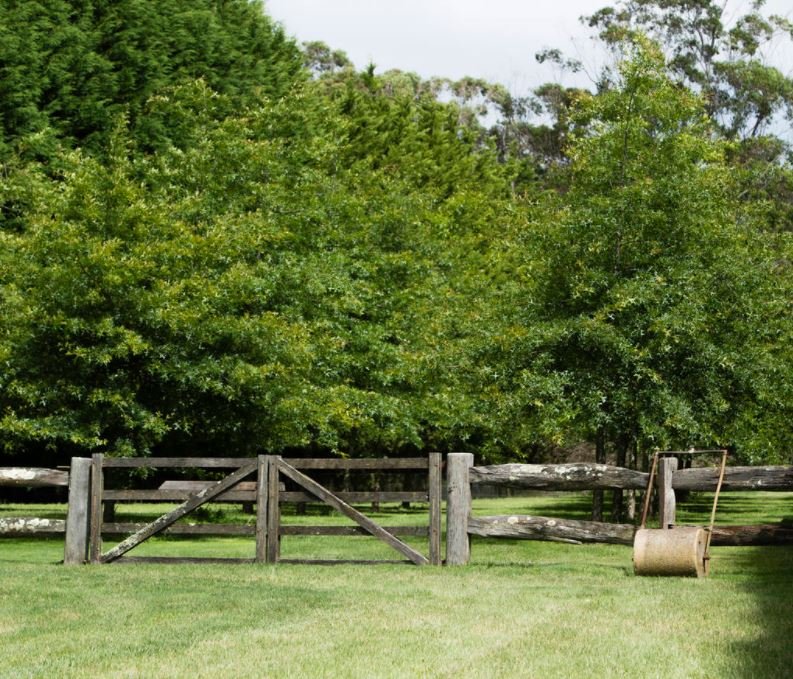
Step 2: Rake
One of the best things you can do for your lawn in the spring is give it a good once over with a rake. Even if you did a phenomenal job raking last fall, raking in the spring is still really important because it breaks up the layer of thatch sitting just on top of the root system.
If you’re new to landscaping, ‘thatch’ is the layer of dead leaves and grass cuttings that fall below the green layer of grass you see everyday and settle right above the root system. If the layer of thatch becomes too thick, it can block water, fertilizer, and oxygen from getting to the root system, ultimately suffocating the grass.
Keep in mind that grass is a bit more delicate in the spring so it’s best to wait until the yard starts to green up a bit before you begin raking it. You’ll also want to make sure you are using a flexible garden rake as opposed to a stiff metal one as the heavier rake could damage young plants.

Step 3: Tune Up The Lawn Mower
Now that you’ve cleaned up the lawn, it’s time to tune up the lawn mower. Before that first mow, make sure to change the oil and if necessary, replace the air filter and the spark plug as well. Also, don’t forget to take a look at the blade to see if it needs to be sharpened or replaced. If you’re not sure how to do that, this video does a great job at explaining how to remove and sharpen a lawn mower blade. Finally, fill up the tank and you’re ready to go!
Pro Tip: Lawn mowers can be hard to start in early spring. To make it easier, leave it sitting in the sun for an hour or two before starting.
Step 4: Overseed
Overseeding, which is simply throwing seed down over existing grass, is one of the best ways to address bare spots caused by dog spots or heavy foot traffic. While the best time to overseed is in the fall, you’ll still see great results if you overseed in the spring.
Before putting down any new seed, you’ll want to make sure you mow your existing grass a bit shorter then usual to ensure the seed gets enough sunlight. After mowing, bag or rake up the grass clippings to allow the seed to sit as close to the soil as possible. For spots that are especially bare, you may want to consider throwing down a layer of top soil before overseeding in those areas. For the best results, immediately after seeding apply a slow release nitrogen fertilizer to the seeded areas and keep the new seed moist until it has sprouted and is actively growing.

Step 5: Weed
For those who prefer a weed free lawn, the spring is the perfect time to get a head start on preventing those stubborn dandelions from getting out of hand. If all you want to do is stop them from spreading, simply snap off their flower stems so that they cannot produce any seeds. If you want to stop them from re-sprouting all together, you’ll need to pull up the entire weed, including the root, from the ground.
For homeowner’s who want to take weed prevention one step further, pre-emergent and post-emergent herbicides are also an effective option. That said, if you are considering herbicides you’ll want to keep a few things in mind:
There is a difference between pre-emergent and post-emergent herbicides so you’ll need to make sure you are using the right one. Pre-emergent herbicides are designed to tackle annuals such as dandelions, whereas post-emergent herbicides are designed to tackle perennials.
While most lawncare companies will tackle weeds by spraying the entire lawn, this approach isn’t ideal unless your lawn is completely overgrown with weeds. Most herbicides are quite toxic, so rather then spraying the entire lawn, you can spot treat the affected areas early on, even before you start mowing, and continue to spot treat as needed throughout the summer months.
Pre-emergent herbicides also work against seed grass and will prevent overseeding from being effective. If you are planning on overseeding this spring, consider prolonging the use of herbicides until the fall or, if you feel that you must use herbicides, be careful to only treat the weedy areas to help ensure the new seed thrives.

Step 6: Water
Watering the lawn regularly during those first few weeks of spring can go a long way in ensuring a lush, green landscape over the summer. Be sure to keep the grass moist but not wet and immediately cut back once the new grass seed begin to sprout. After that point, it’s recommended that you only water for 20 minutes twice a week and up to 3 times a week during the warmest months. One thing to keep in mind, older lawns do not need the jump start that younger ones do. If your yard is well established, you can likely reduce the weekly waterings down to once a week.

Fertilize & Aerate
Fertilizing and aerating came up a few times while I was doing my research but I ended up deciding to leave these off of the list of must do’s. Ultimately, while you can try to bring life back to a unhealthy lawn by aerating and fertilizing in the spring, you’ll get the best results if you wait to perform these tasks in the fall.
Lawn aerating, which breaks up compacted soil and helps ensure that air, water, and nutrients permeate into the root zone, is a great way to bring life back to high traffic areas where the soil has been compacted to the point where existing grass can’t grow. Unfortunately the little aeration holes also provide the perfect place for weeds to germinate, which is why it’s generally recommended to only aerate in the fall. Similar to aerating, too much fertilizer in the spring can also lead to weed problems so it’s best to hold off on doing that until later in the season.
Looking for more on landscaping? Check out these other posts:
BY EMILY RADKIE